|
Nothing like some last minute skills training in glacier travel (I’m sure I should’ve done this ages ago but better late than never). I decided it was about time I took a glacier skills course so a few months back I booked in for one in Canada. I found I had read books, watched videos and had friends demonstrate systems to me for crevasse rescue but I always forgot and also got confused by the different methods I was seeing. This course kept it simple, it didn’t try to teach you multiple knots or go through different options for rescue systems but it did show you how to conduct a rescue under different situations and all using very similar approaches to avoid confusion. I’ll go through a couple of the things we learnt and try and demonstrate with some pictures but first I’d like to do a bit of good natured gear chat. Our instructor had a Petzl micro traction and if you have a spare $120-150 Canadian they are pretty cool because they work both as an auto locking device when creating a 3:1 system, belaying someone or ascending and they can working when repelling without needing to change your setup (ie going from ascending to repelling) although you do need to add friction to your system when repelling. They are also extremely light! Another piece of weight saving equipment was a static 40m petzl rope, a lot lighter and smaller than any of the other ropes I've picked up. Only to be used for glacier travel when you need the rope to be taught or extremely close to it all the time. No good for climbing where you do want the rope to stretch (dynamic rope) so when someone falls they don't really hurt themselves. 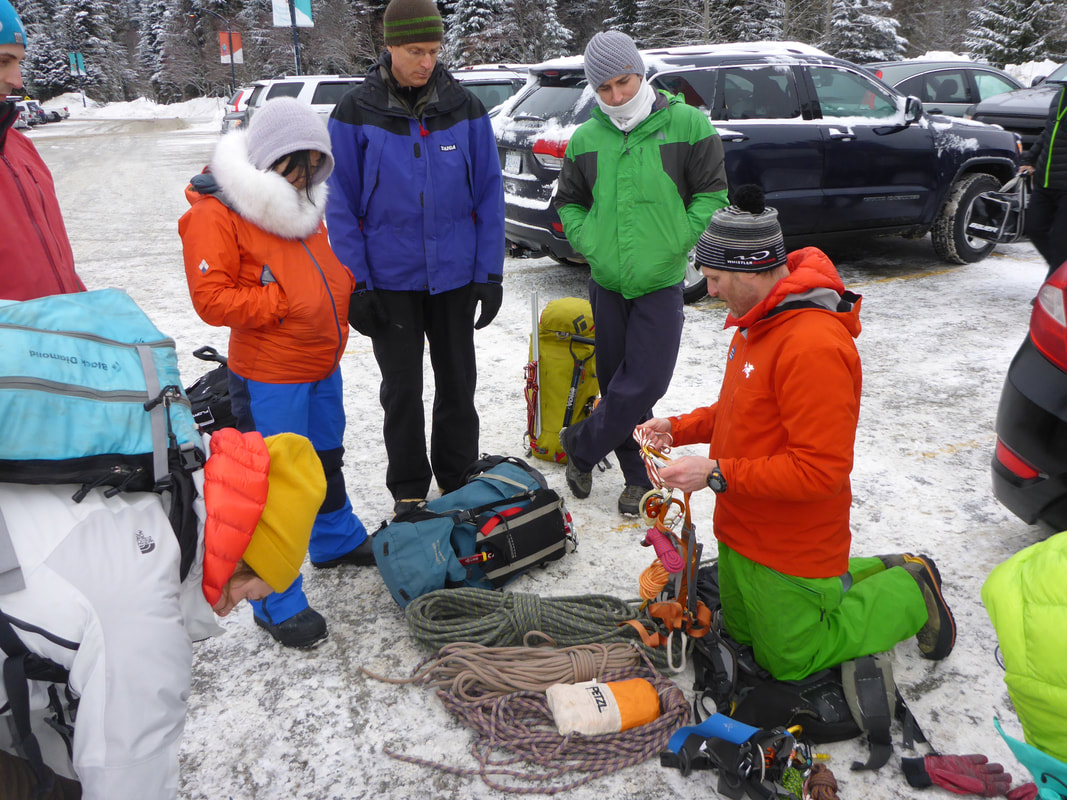 Talking about different types of ropes, pulleys, prusiks.. Gear chat Only the MOST useful knots/ hitches to learn, just google them (we were told that these are the most basic but they will get you by): Prusik hitch (standard where you start with a girth hitch and wrap your way inwards) Figure 8 on a bite Munter hitch Clove hitch Not a knot/hitch but look up how to setup your auto blocking device. Its the same setup as you would use when belaying someone up a multi-pitch climb. Building an anchor Skis are great anchors, attach ski straps at top and bottom to keep them together (or any other form of strap you have, if you only have one that’s ok too). Dig a trench 40+cm deep parallel to the edge of the crevasse. Make some indents for the bindings and slope the trench in slightly towards the edge of the crevasse near the bottom to help the skis sit better. Girth hitch a sling to the skis and scratch out a channel with your ice axe from the middle of the trench/ skis towards the edge for the sling to lie in. Make sure this channel goes as deep as the trench at the start so that the angle of the sling on the snow isn’t enough to provide leverage to pull the anchor up. Where the channel meets the snow surface attach a locking carabiner to it (this channel must be at 90 degrees to the edge so that it is pointing straight to the victim and not providing any leverage). You can quickly dig the snow out from under the carabiner so that this area is easier to work with later when setting up your 3:1 system. Also make sure the gate of the carabiner is facing upwards. 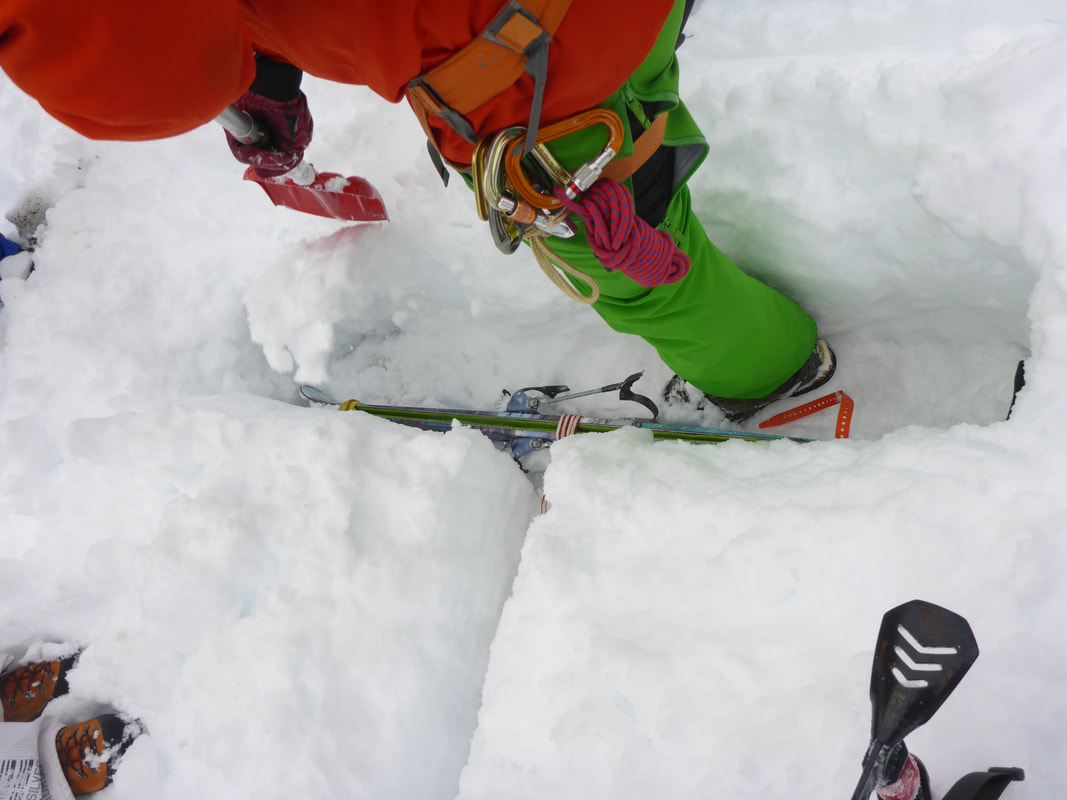 Building an anchor using skis. Binding side faces into the slope with the sling attached by a girth hitch at the middle and running towards crevasse edge in a trench dug up towards surface Crevasse rescue with a 3+ person team: In this situation we are assuming that the team is roped up. We discussed how in winter you are less likely to rope up when on a glacier than in spring and summer. Most of the time in winter crevasses will be filled in and being roped up would add unnecessary delay to the journey. However, this being said, you need to make your own observations because different glacier shapes, annual differences in climate and snowfall and the potential for some parts of glaciers to move faster than others and form crevasses, could change things. Also in general it is better to stick to the middle of the glacier for travel as the edges have higher potential of crevasses. Using your probe to feel for differences in snow pack is way of helping to decide whether to rope up, if after 30 cm you feel empty space beneath your probe then you probably want to be roped to a rock.. Or your partners. If your route on the glacier involves moving up a steep section of the glacier then you may want to rope up even in the middle of an epic winter as you may encounter seracs (where the glacial ice goes over a cliff and creates cracks). Who knows, there is obviously no black and white and I’m just sharing with you what was told to me. Anyway, roughly 12 m of rope between each person (or 5 outstretched arm lengths) with the front and back people carrying an extra 3 or so meters in their packs. Everyone is attached to the rope with a figure 8 on a bite. Imagine the group is walking along and the last person falls into a crevasse. The person immediately in front has to brace the majority of the fall and is pulled to the ground. Because rope will be taught the person in front of the victim will need to attach a prussic to the rope leading to the victim, with a knot or figure 8 after the hitch and then attach this to the anchor by tying a figure 8 on a bite. 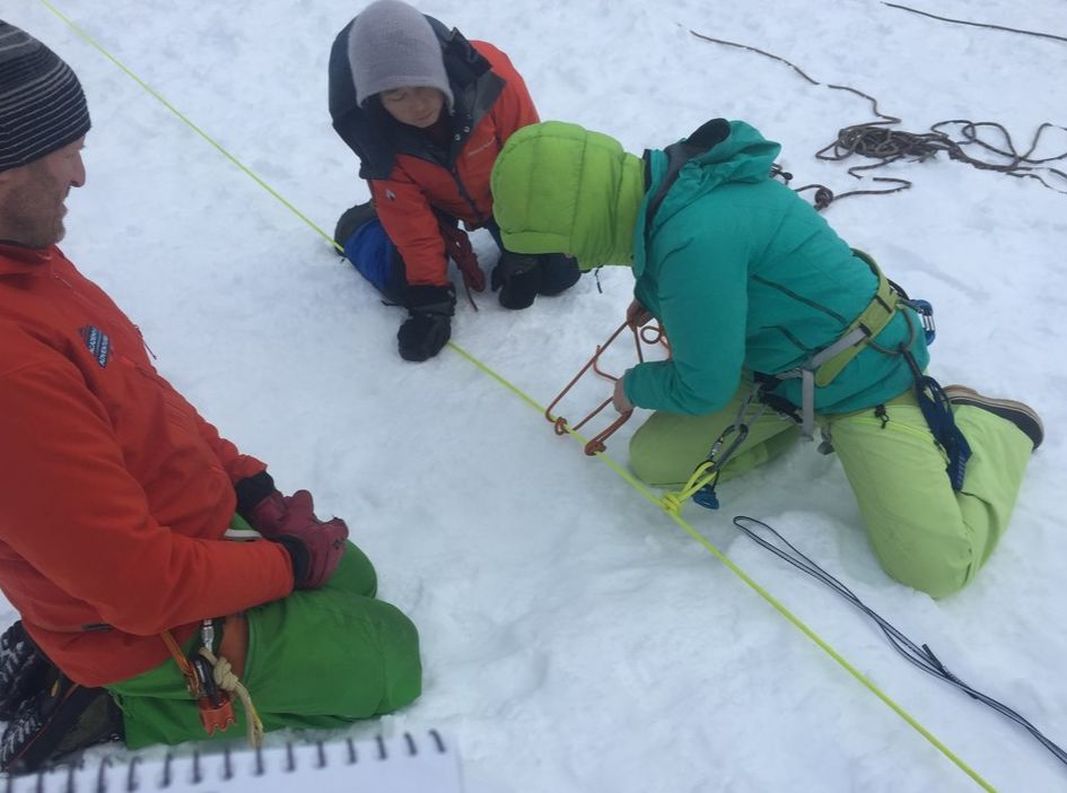 Attaching a prusik to the main rope and then the anchor to take the tension of the rope allowing the pulley system to be set up They will then slide the prusik along the rope so it is taught and takes the weight of the victim. The person ahead up the rope (3rd person) can attach a prusik, remove themselves from their figure 8 and prusik themselves down to the person by the anchor (2nd person). As the rope is now slack a figure 8 on a bite can be made above the 2nd person and attached to the anchor. 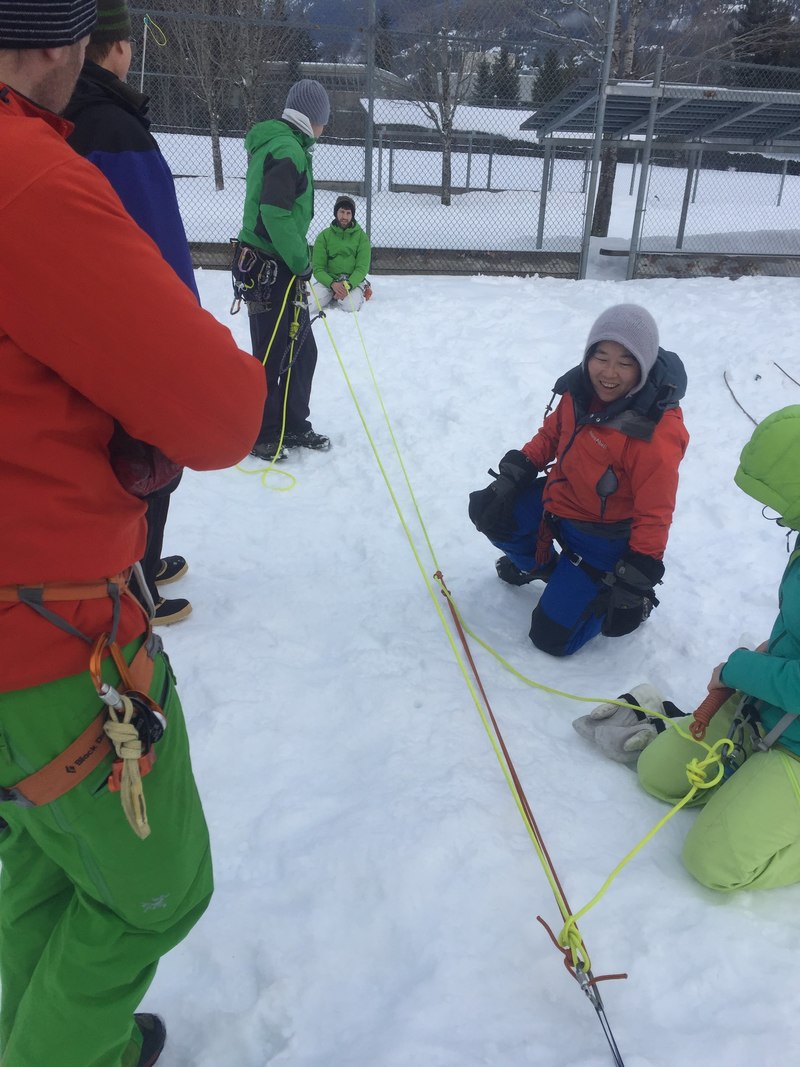 Prusik (installed above) and figure 8 on a bite attach the main rope (holding victim) to the anchor. 3rd group member prusiks to edge to give victim the rope to be pulled up on and also prepares the edge. The 3rd person then probes to the edge and prepares it (the victims rope will likely be dug into the edge and your rescue rope will too if you don’t put something down to protect it like an ice axe or a pack over which you throw your rescue rope). 3rd person then throws their end of the rope with a figure 8 on a bite down to the victim (making sure the victim has a locking carabiner and can attach and tighten it. This is where it helps to have spare rope at either end of the rope like 3m+ otherwise the rope may need to be extended with a sling. 3rd person comes back to anchor, prusiking up rope. Another prusik is to be added to rope (in the same way that the first one was added) where person 3 is and this is attached to anchor. Rope between this prusik and anchor is attached to anchor with a auto blocking device to create part of 3:1. Rope is passed through this device and sent back up to 2nd prusik to finish the 3:1 with a pulley or a carabiner through the part of the prusik between the hitch and the knot. Then pull and keep pulling! Oh and remember to slide the prusik back down the rope towards the victim when it hits your auto blocking setup. 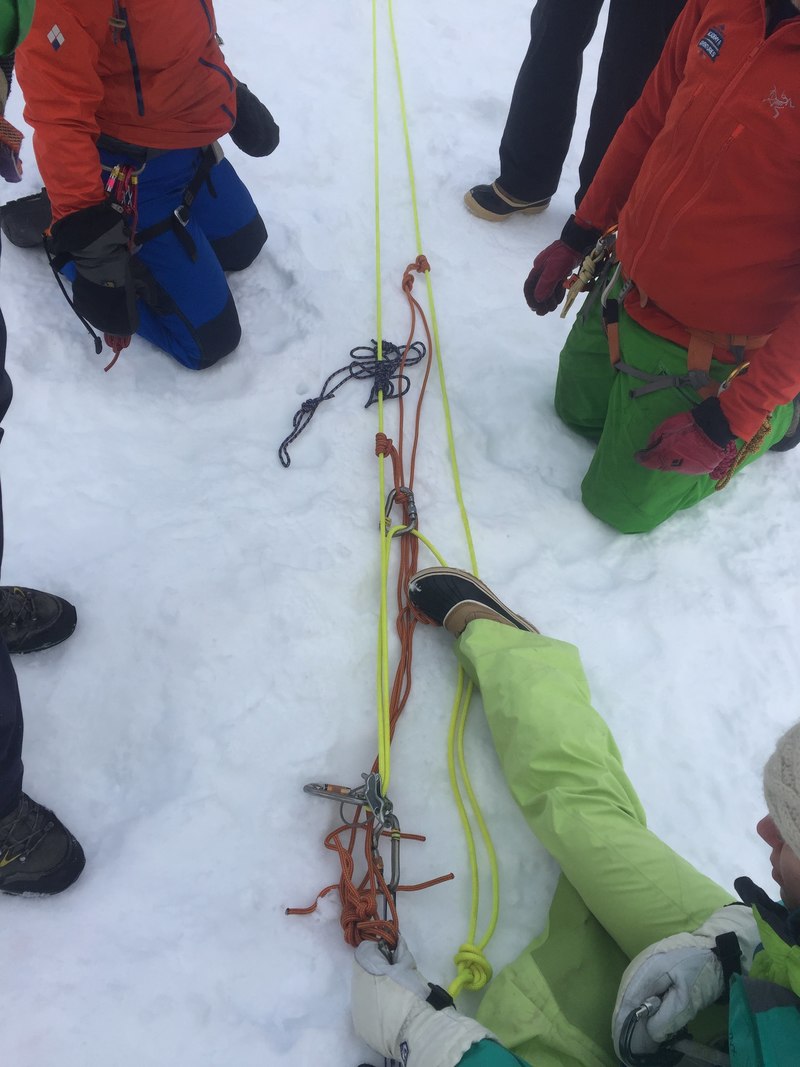 A final prusik is added to the new rope that has been given to victim then the auto blocking device is installed and the rope is passed back towards new prusik to complete the 3:1 pulley. Now pull! If what I have written is confusing I completely understand and all I can say is take a course and it will all be clear. Or should I say it will become less hazy and you will have some idea of how it all works, I definitely feel like this is just the start and I have so, so, so much to learn. Bring it on!  Practicing repelling off a cornice
0 Comments
Leave a Reply. |
AuthorMarian Krogh Archives
August 2019
Categories |
 RSS Feed
